🌍 Environments
Environments let you map Nota workflows to the right instance of your app—development, staging, production, or any custom stack you maintain.What You Can Configure
| Field | Why it matters | Example |
|---|---|---|
| Name | Appears in workflow dropdowns so teammates pick the right target. | Staging, QA, Production |
| Application URL | Base URL used for workflow execution and AI exploration. | https://staging.trynota.ai |
| Default Environment | Serves as the fallback when a workflow does not specify an environment. | Toggle on for Production |
💡 Tip: Use names that match the terms your team already uses internally; it keeps execution history easy to scan.
Add or Edit an Environment
- Go to Settings → Environments.
- Click ➕ Environment (or edit an existing row).
- Complete the fields:
- Set a clear Name.
- Provide the base Application URL.
- Toggle Default if this should be the fallback target.
- Save to make the environment instantly available across Nota.
Example List
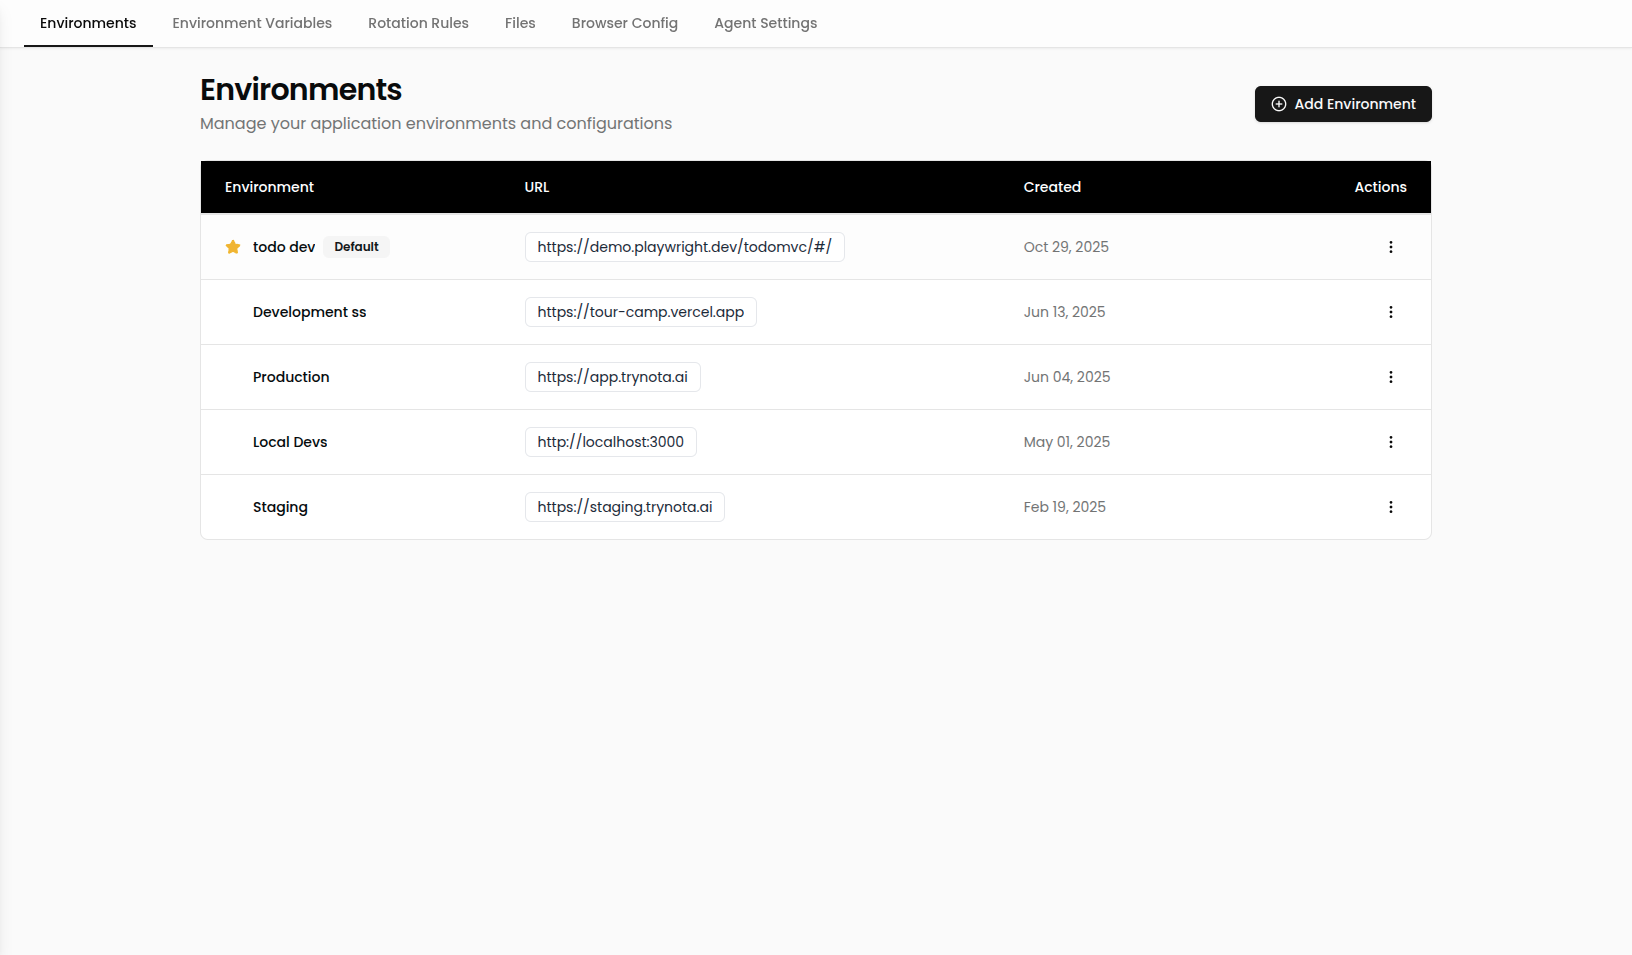
Environment Badge
When workflows run, an Environment Badge appears in the run metadata and live log panels. The badge displays:- A globe icon with the environment name
- A dynamically generated color unique to each environment name, making it easy to distinguish environments visually
- A clickable link to the environment URL (when configured)
Application Context
Each environment automatically builds application context as workflow runs complete. This context powers features like the Prompt Optimizer, giving the AI detailed knowledge of your application’s behavior. The environment row displays context status beneath the name — a brain icon showing the number of pages and runs ingested, or “No context yet” for new environments.Refresh Context
If you had successful runs before application context was introduced, you can backfill the context manually:- Go to Settings → Environments.
- Open the action menu (⋯) on the environment row.
- Click “Refresh Context”.
💡 Going forward, context is built automatically — you only need to refresh once for backfill.
Best Practices
- Mirror production behavior by reusing environment variables with different values per environment.
- Limit defaults to a single environment so there is no ambiguity when workflows run on a schedule.
- Update URLs quickly when staging or preview environments change domains—the change applies to every workflow instantly.