🧩 Workflow
The Workflow page is your command center for end-to-end test creation.Here, you can manually create test workflows or let Nota AI generate them automatically—all tailored to your app’s flows.
✍️ Creating a Workflow
1. Manual Workflow Creation
You can manually create a workflow by clicking the “Workflow” button.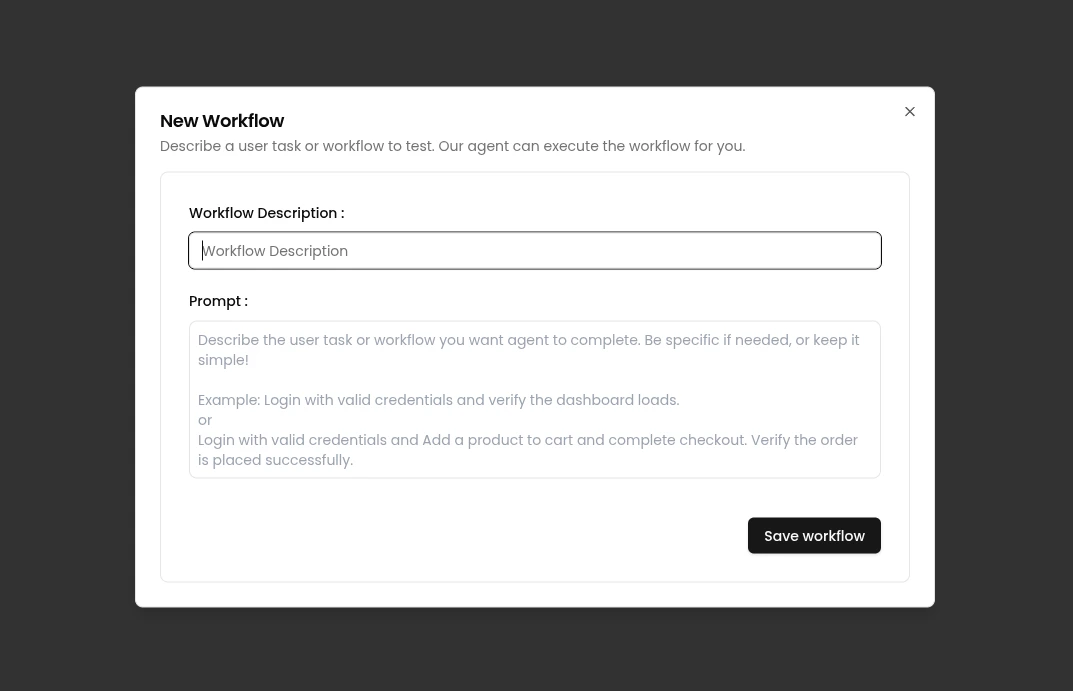
- Add a description to help identify the test flow.
- Optionally, define a prompt to guide test expectations or structure.
2. AI-Powered Workflow Generation
Let Nota AI do the heavy lifting by clicking “Generate Coverage”.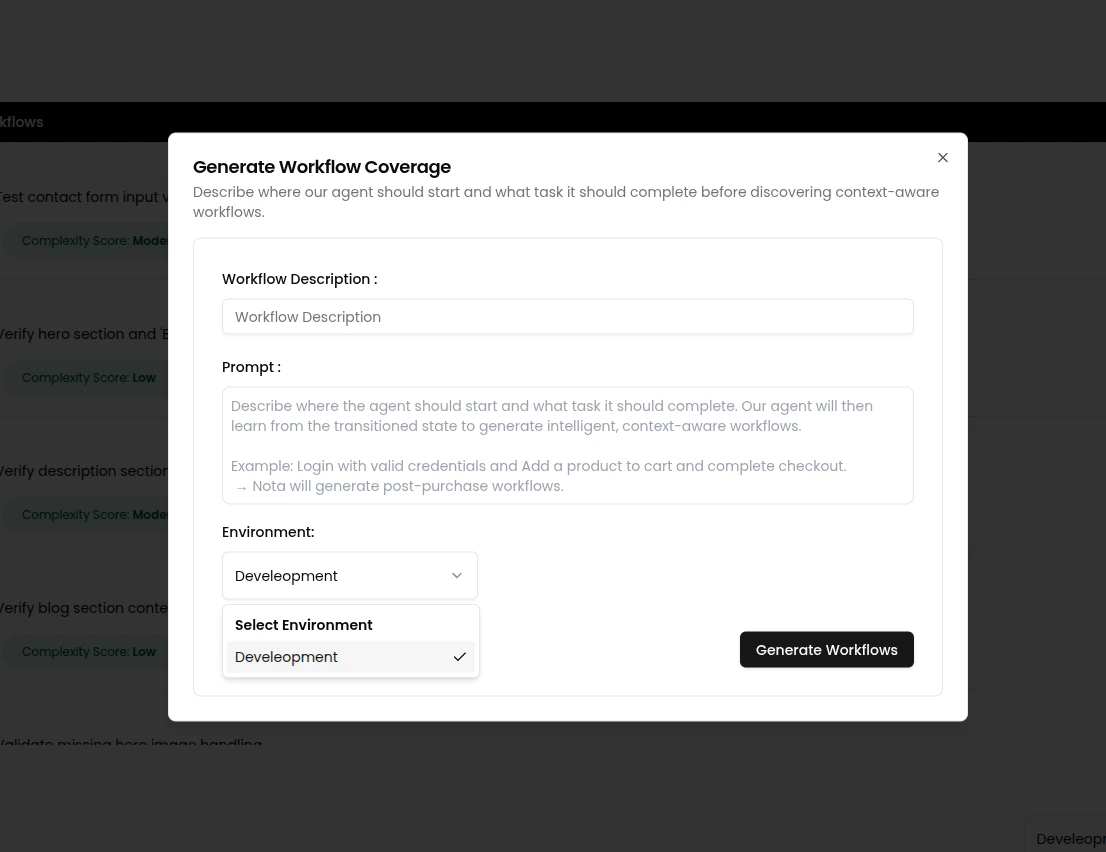
-
Provide a short description of the scenario.
Example:"Dashboard test coverage." -
(Optional) Add a detailed prompt for precise test generation.
Example:
"Go to login page, enter valid credentials and click login. expect user lands on dashboard after successful login." - Select an environment from the dropdown — this tells Nota where the workflow should run.
- Click “Generate Workflows” to let the AI agent create the full test sequence for you.
- After generation, you can view agent activity of the workflow execution in the log view.
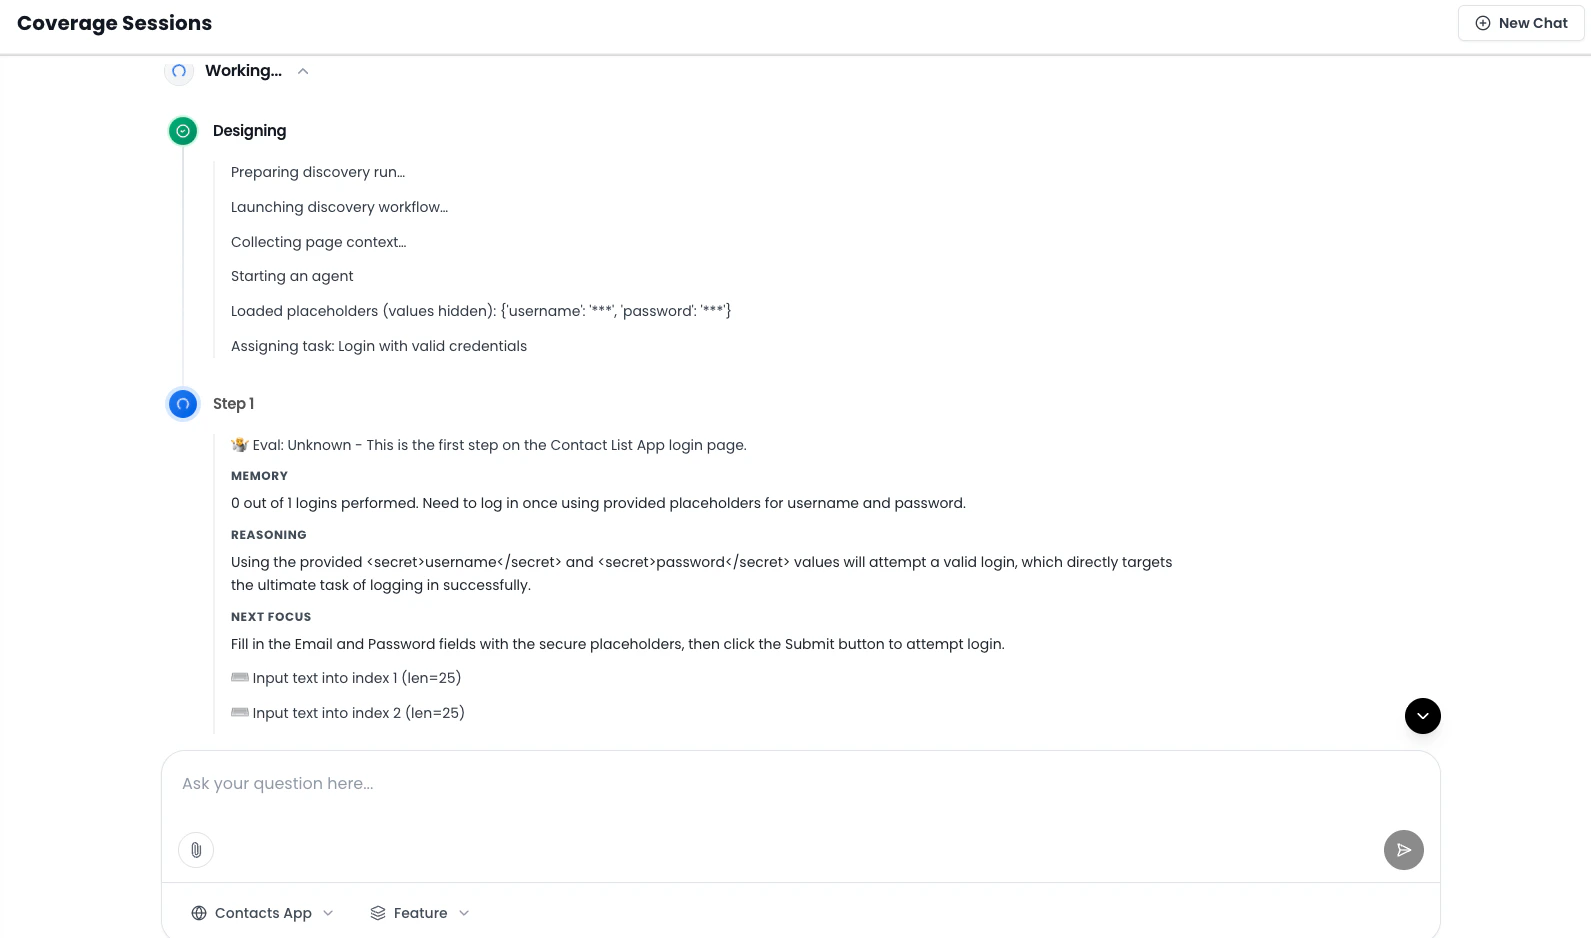
⚠️ Note: For Generate Coverage workflows, you cannot pause or stop the agent activity once it has started.You’re now ready to execute or automate your AI-generated workflow! 🚀
🛠 Managing Workflows
After creating workflows, you can manage and run them directly from the Workflow page.✅ Selecting & Executing Multiple Workflows
Select multiple workflows using the checkboxes next to each row.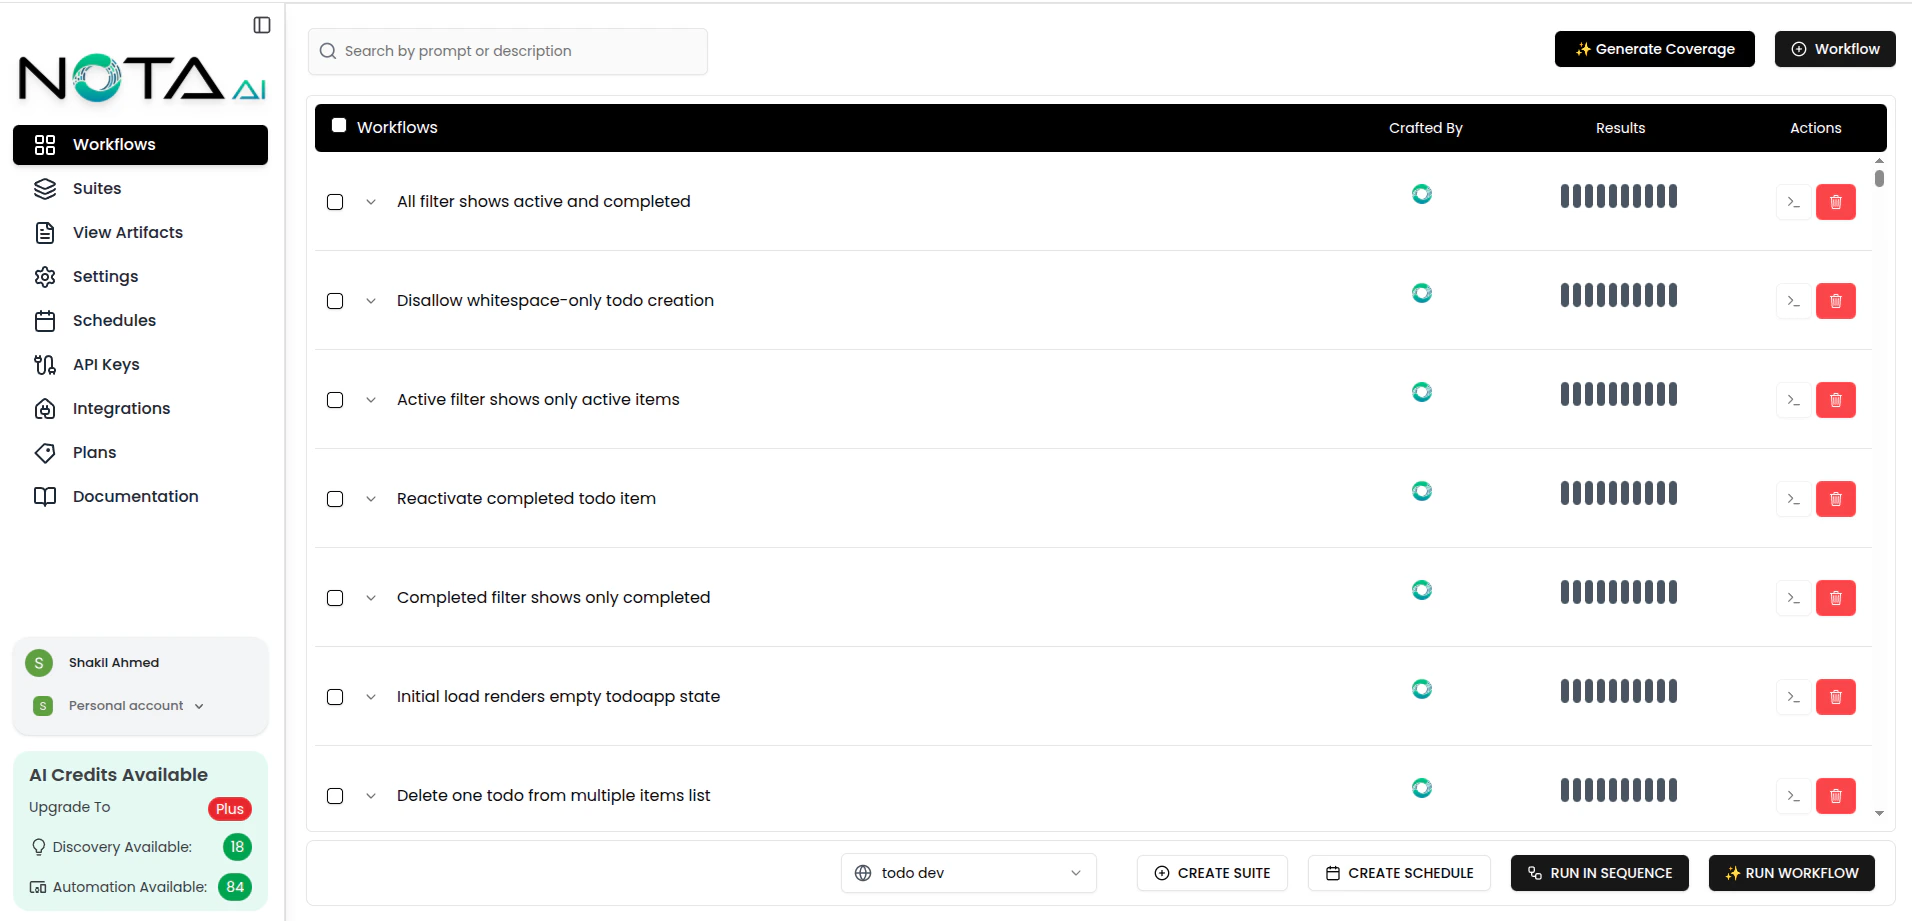
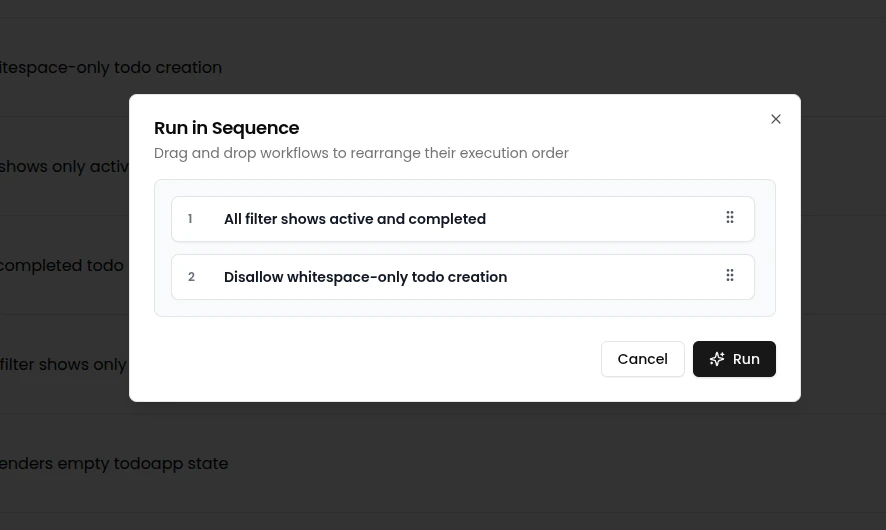
🧭 Sequential Run
Sequential run means the selected workflows run one after another, not at the same time.The next workflow starts only after the current one finishes, so execution is orderly and easier to follow. When you click “Run Workflow”, a modal opens where you can re-arrange the order and then start the run.
✏️ Updating or 🗑 Deleting a Workflow
- Click the workflow you want to edit.
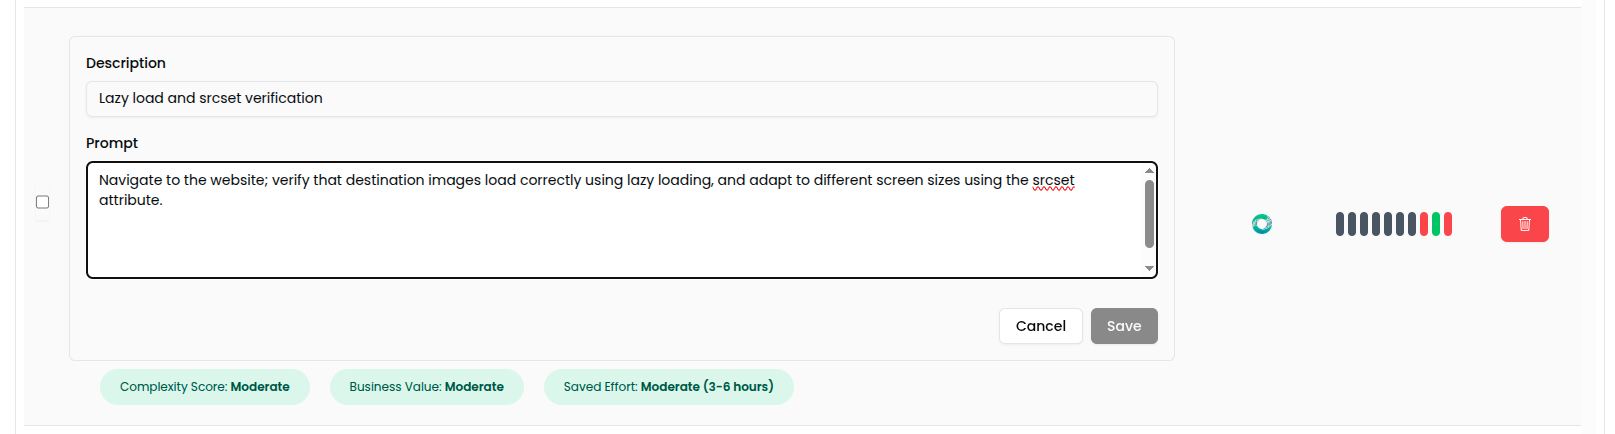
- Modify test steps inline or using the editor panel.
- To delete a workflow, click the “Delete” button.
📟 Viewing Workflow Logs
You can view real-time logs while a workflow is running directly from the Workflows page. This helps you track progress and troubleshoot issues easily.🖲️ Terminal Button
- The Terminal button is always visible but disabled when no workflow is running.
- It becomes active only while a workflow is being executed.
- Click the button to open the log bar at the bottom of the screen.