🌍 Environments
Environments let you map Nota workflows to the right instance of your app—development, staging, production, or any custom stack you maintain.What You Can Configure
| Field | Why it matters | Example |
|---|---|---|
| Name | Appears in workflow dropdowns so teammates pick the right target. | Staging, QA, Production |
| Application URL | Base URL used for workflow execution and AI exploration. | https://staging.trynota.ai |
| Default Environment | Serves as the fallback when a workflow does not specify an environment. | Toggle on for Production |
💡 Tip: Use names that match the terms your team already uses internally; it keeps execution history easy to scan.
Add or Edit an Environment
- Go to Settings → Environments.
- Click ➕ Environment (or edit an existing row).
- Complete the fields:
- Set a clear Name.
- Provide the base Application URL.
- Toggle Default if this should be the fallback target.
- Save to make the environment instantly available across Nota.
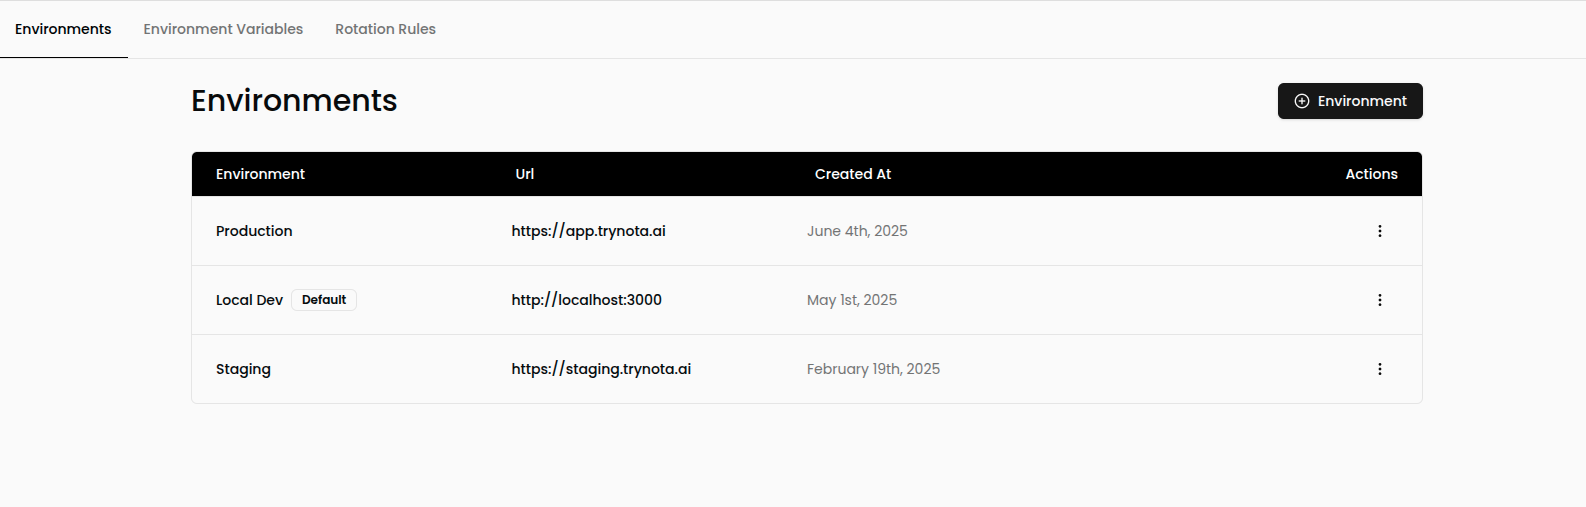
Example List
Best Practices
- Mirror production behavior by reusing environment variables with different values per environment.
- Limit defaults to a single environment so there is no ambiguity when workflows run on a schedule.
- Update URLs quickly when staging or preview environments change domains—the change applies to every workflow instantly.